5 Tips for Learning to Cook Without Recipes

It’s liberating to be able to look in your refrigerator and pantry and then whip up something that suits your mood with ingredients you have on hand. It’s easier than you might think.  Begin by learning some basics, and then get in your kitchen and experiment.  Just as you can create an almost infinite amount of great music knowing only a few chords, so it is with cooking. Sure you’ll be able to make more complex dishes when you learn to augment, diminish, invert, play 7th and 9ths, etc., but those simple Buddy Holly meals will provide plenty of variety and enjoyment.

Here are some tips for getting started:

  1. Learn some general cooking methods and techniques. If you’re a complete novice, you’ll first need to learn some basic cooking methods, such as baking/roasting, steaming, sautéing, pan frying, grilling, and stewing, to name several common methods. Start by practicing a few methods, and focus on techniques for great results.  For example:
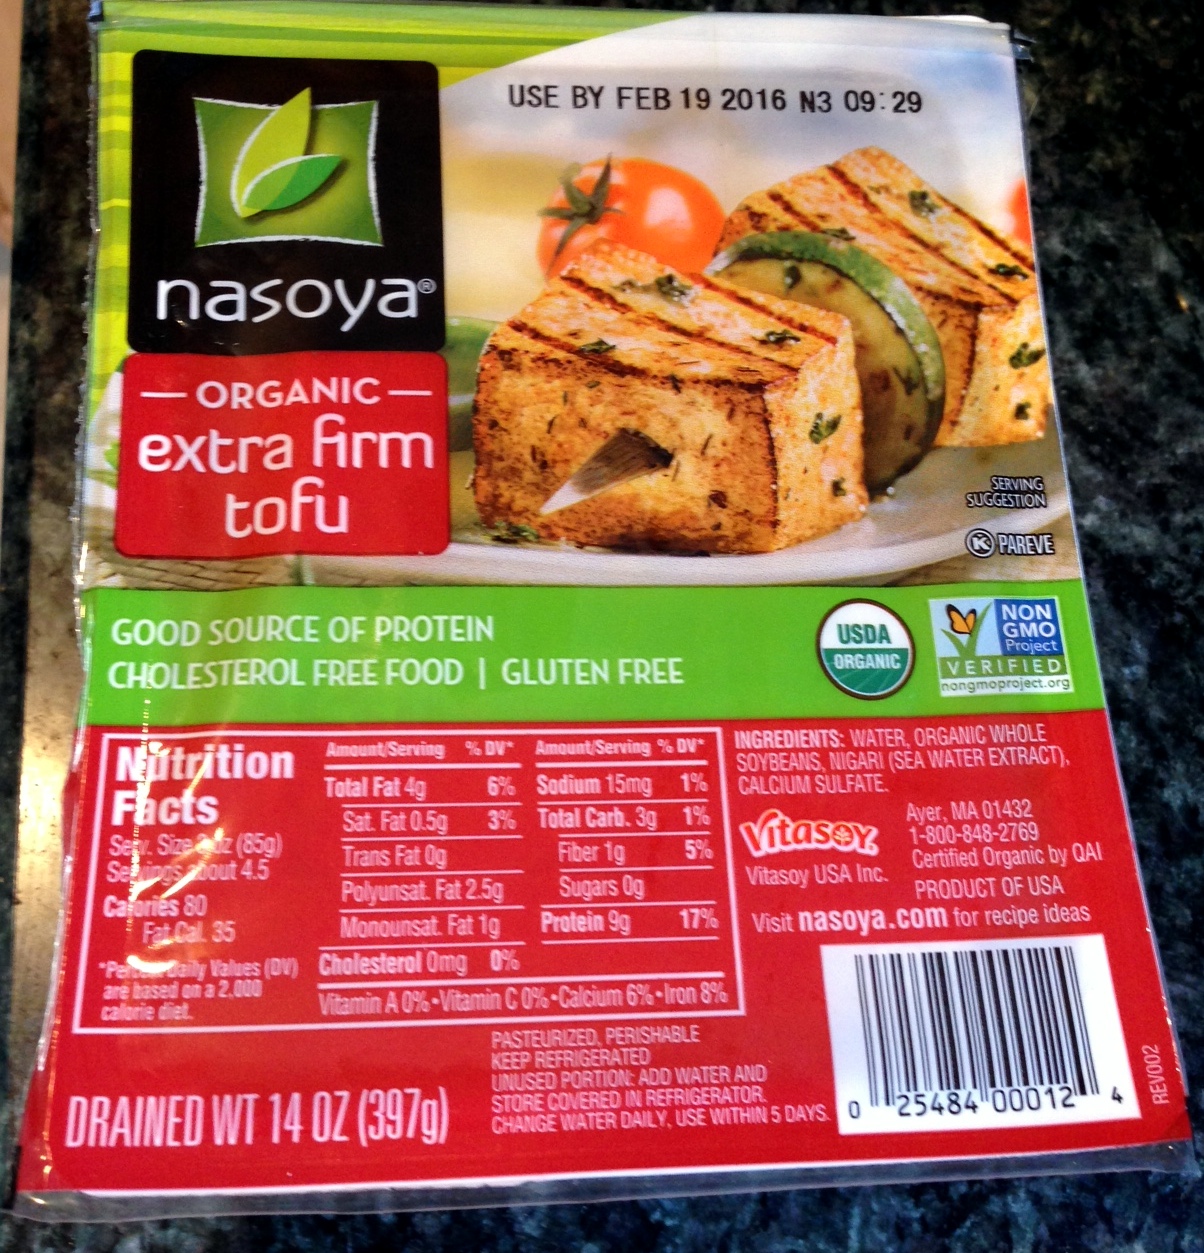
  • Practice pan frying tofu, tempeh, beans, potatoes and other vegetables. Learn to properly heat the pan before adding fat and then food, and then to leave the food for appropriate amounts of time to brown all sides.
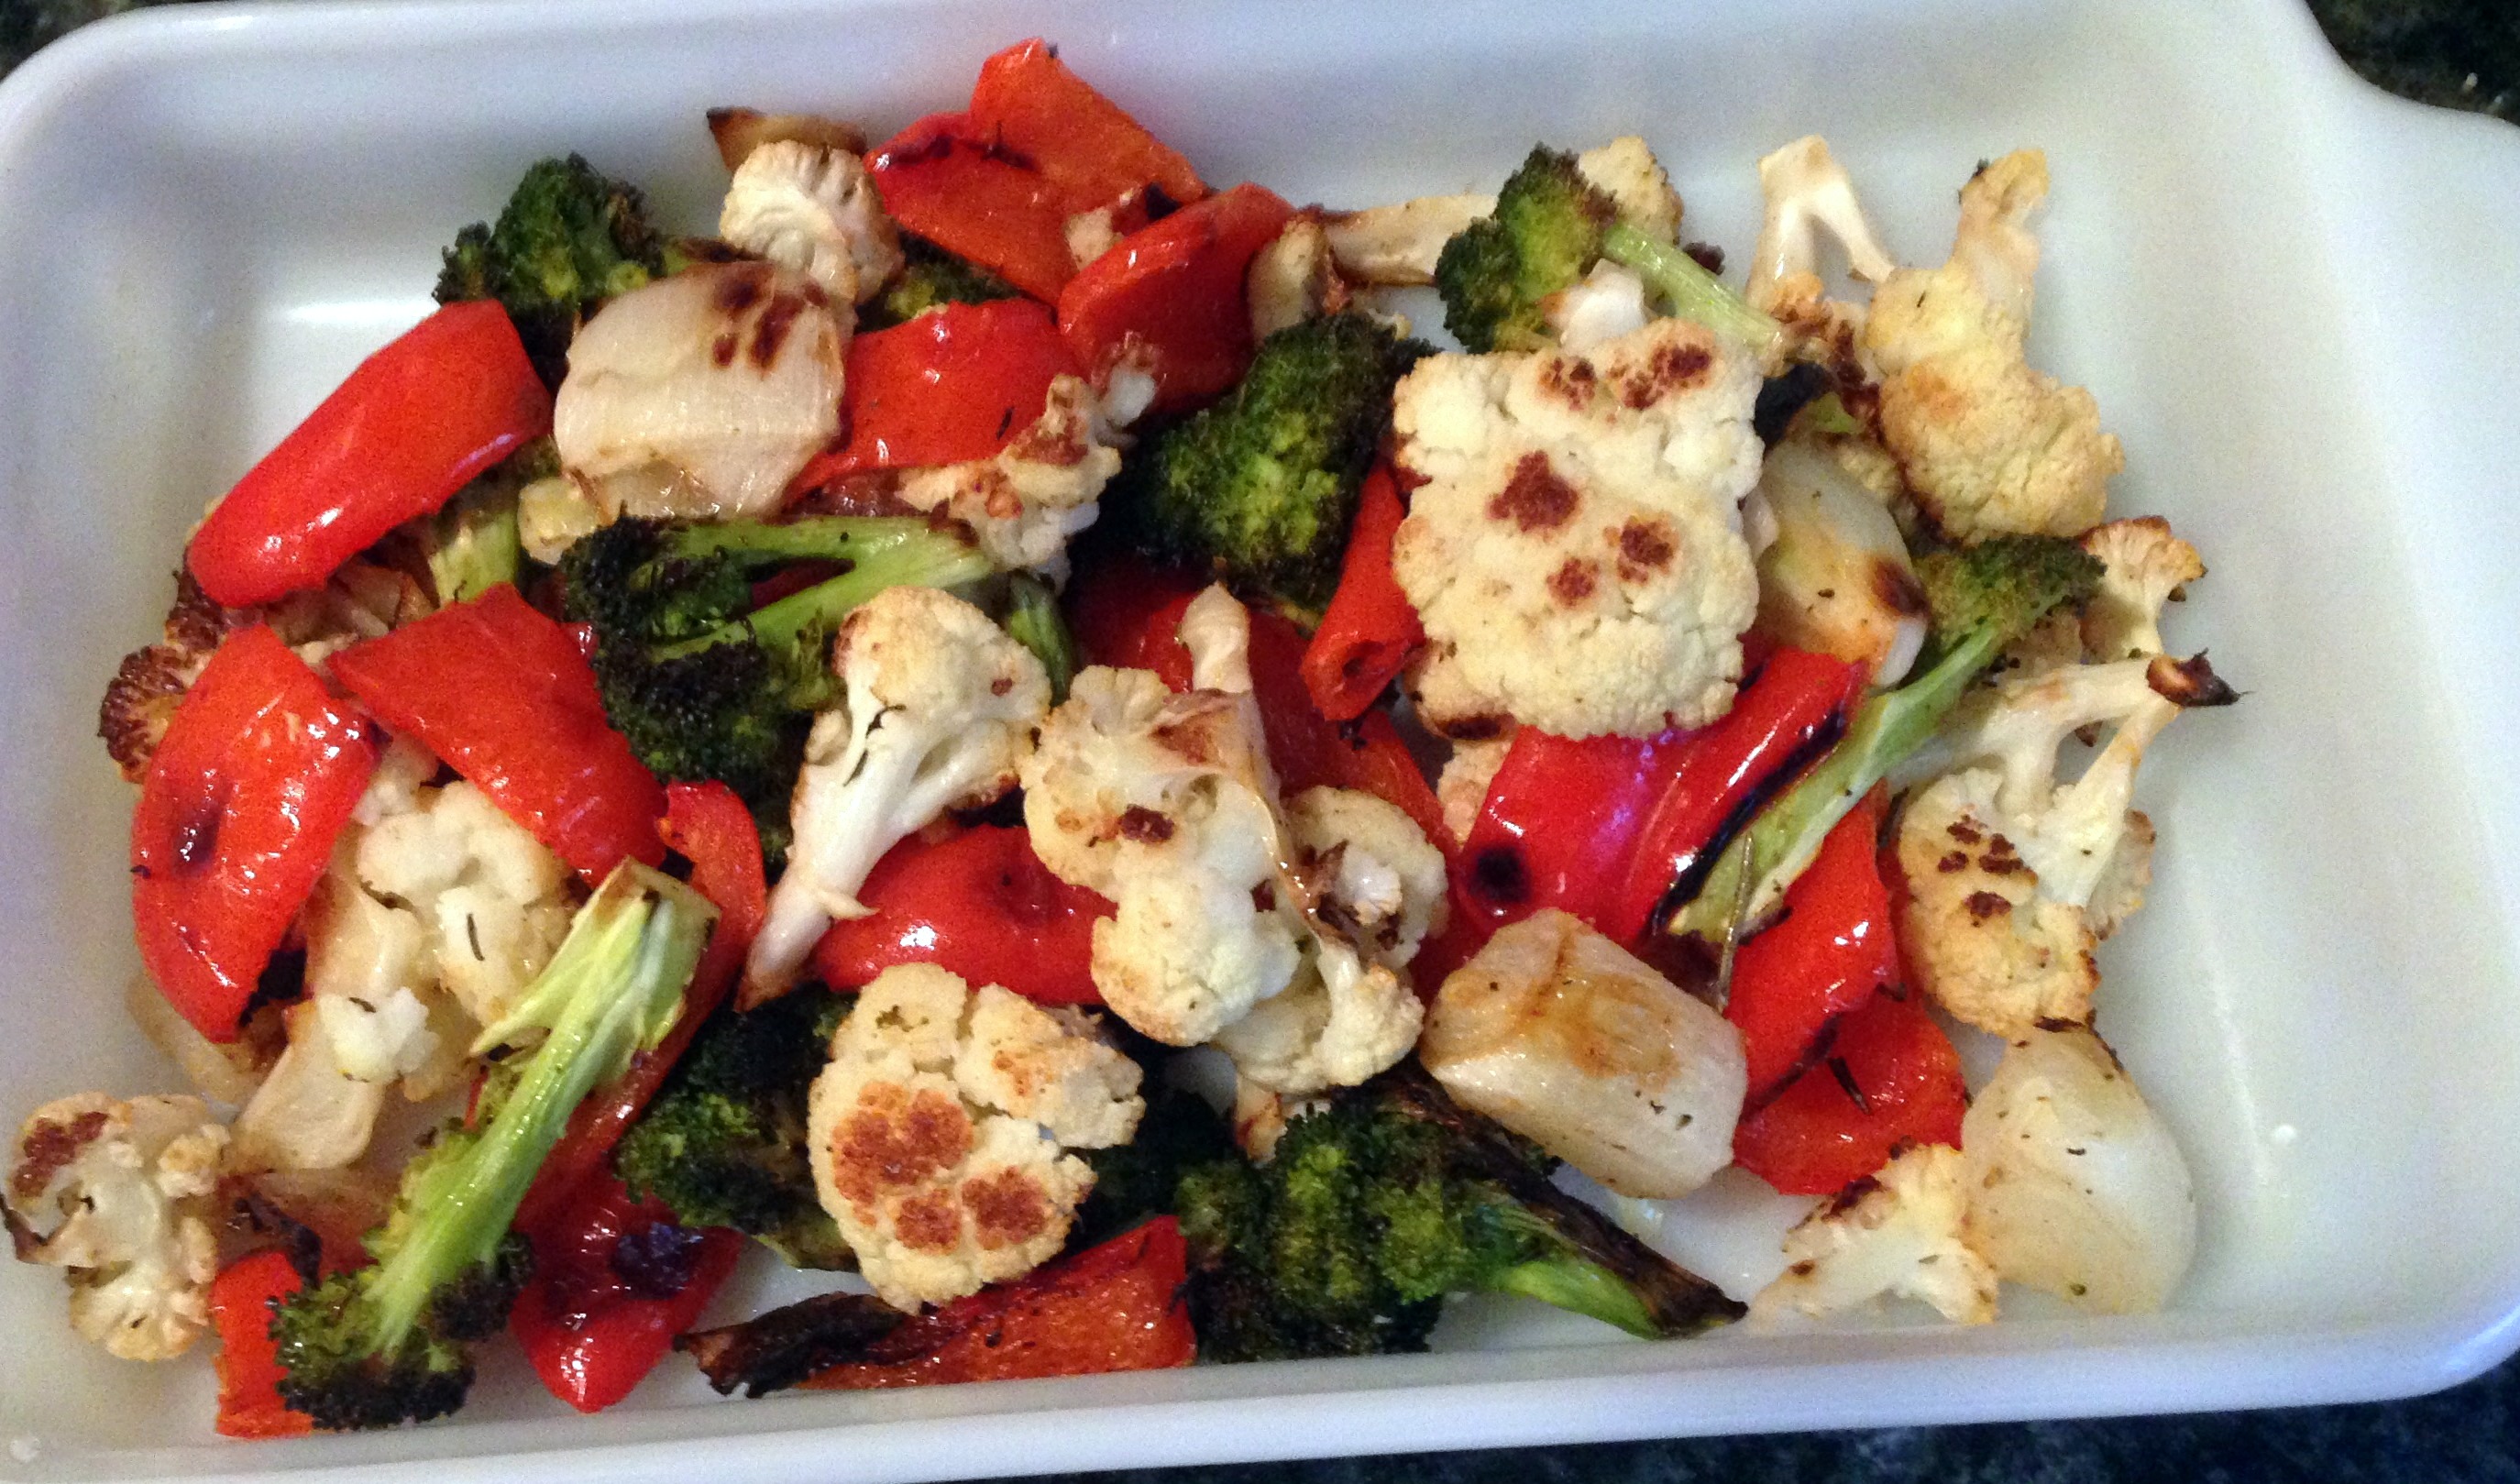
  • Similarly practice baking/roasting. (Those terms are almost interchangeable. Roasting is baking at higher heats.)  See my article on tips for roasting vegetables.
  • Learn how to cook grains using the basic steaming/absorption method, and then perhaps try the pilaf method.
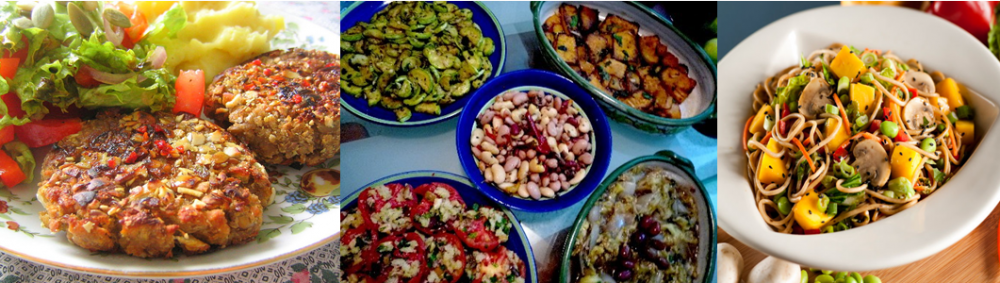
  • Play around with making soups and stews, which are very forgiving.
  1. Learn ways to flavor food, including how to season and create a few of your favorite flavor profiles.
  • Use of salt and pepper throughout the cooking process is necessary to bring out the natural flavor of foods. You “season” as you add layers of food in cooking to ensure you don’t have a bland, tasteless final dish.
  • Flavor profiles are created by combining herbs and spices. Do you love Italian food?  Practice combining basil, oregano, marjoram, thyme, garlic, onion, rosemary, sage, and parsley.  Do you love Mexican food?  Practice combining chili, cumin, coriander, paprika, garlic, onion, and cinnamon.  For Indian some spices to use are curry, cumin, cloves, cinnamon, cardamom, turmeric, ginger, fenugreek, mustard, garlic and onion.
  • Not as fundamental as the two above, but as a bonus, begin to learn the magic of flavor enhancers such as Dijon mustard and other condiments, Balsamic and other vinegars, wines, and tamari/soy sauce.
  1. In addition to learning herb and spice combinations, you’ll also be well served learning to make a few basic sauces and marinades, which you’ll be able to modify with your knowledge of flavor profiles. You might even try studying recipes to get a feel for quantities of flavorings and how flavors get balanced – a little tang from vinegar or citrus plus a little sweet from a natural sugar. My suggestions for a few sauces to start with are:
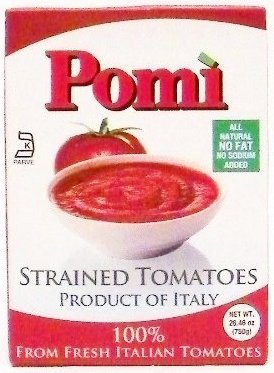
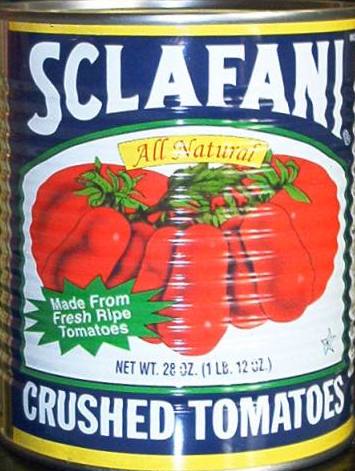
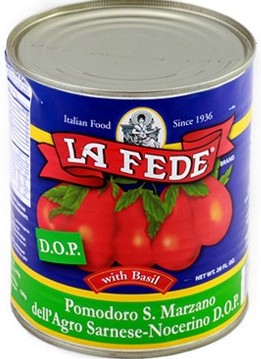
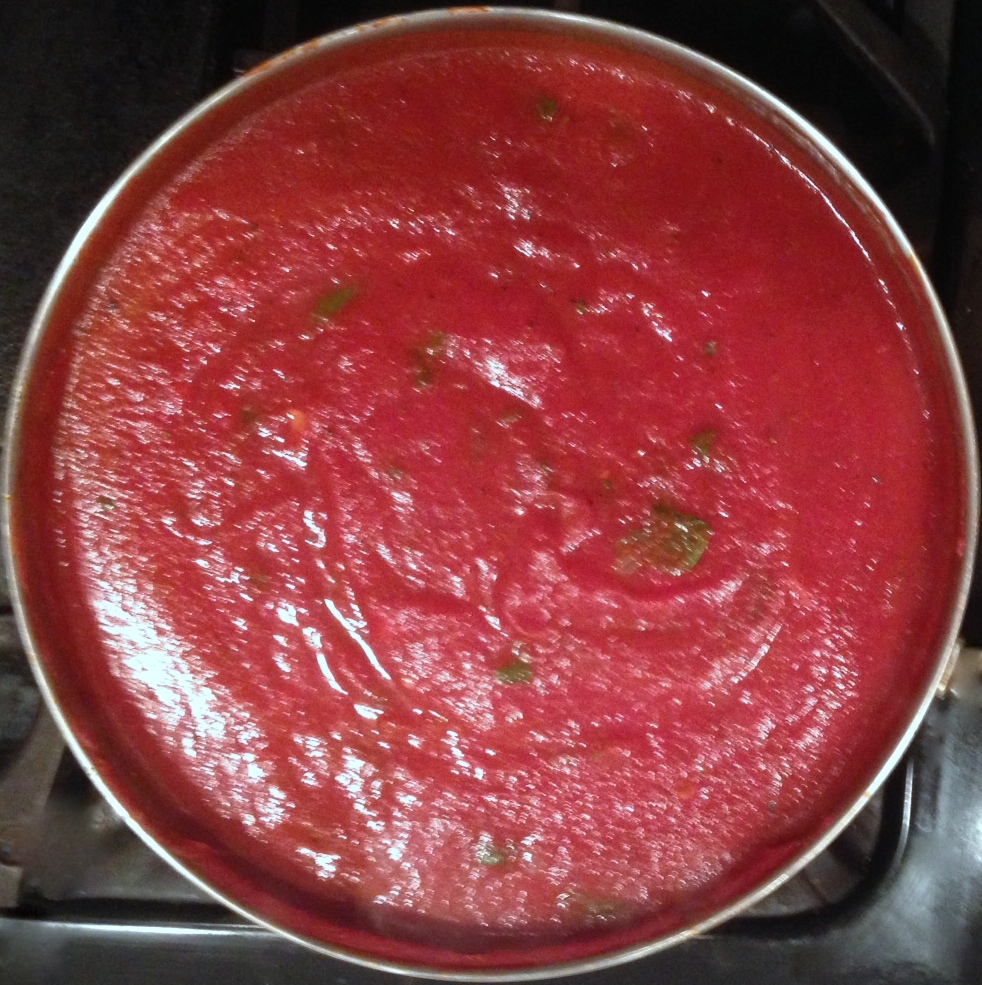
  • A basic tomato sauce is one of the most fundamental and versatile sauces. For tips, check out my article.
  • A basic white or béchamel sauce, cashew based, can be used in so many ways, including as a pasta sauce, for making creamy green vegetables or potatoes, enhancing casseroles, and as the basis for many cheesy sauces.
  • A delicious Asian-flavored marinade/sauce can be created by combining tamari/soy sauce, garlic, and sesame oil with a little rice wine, maple syrup, and rice wine vinegar.
  • Similarly, a peanut sauce can be made combining approximately equal parts peanut butter and water, then adding a little tamari/soy sauce, maple syrup, rice vinegar, ginger, garlic, and cayenne.
  1. Learn which foods work well together.
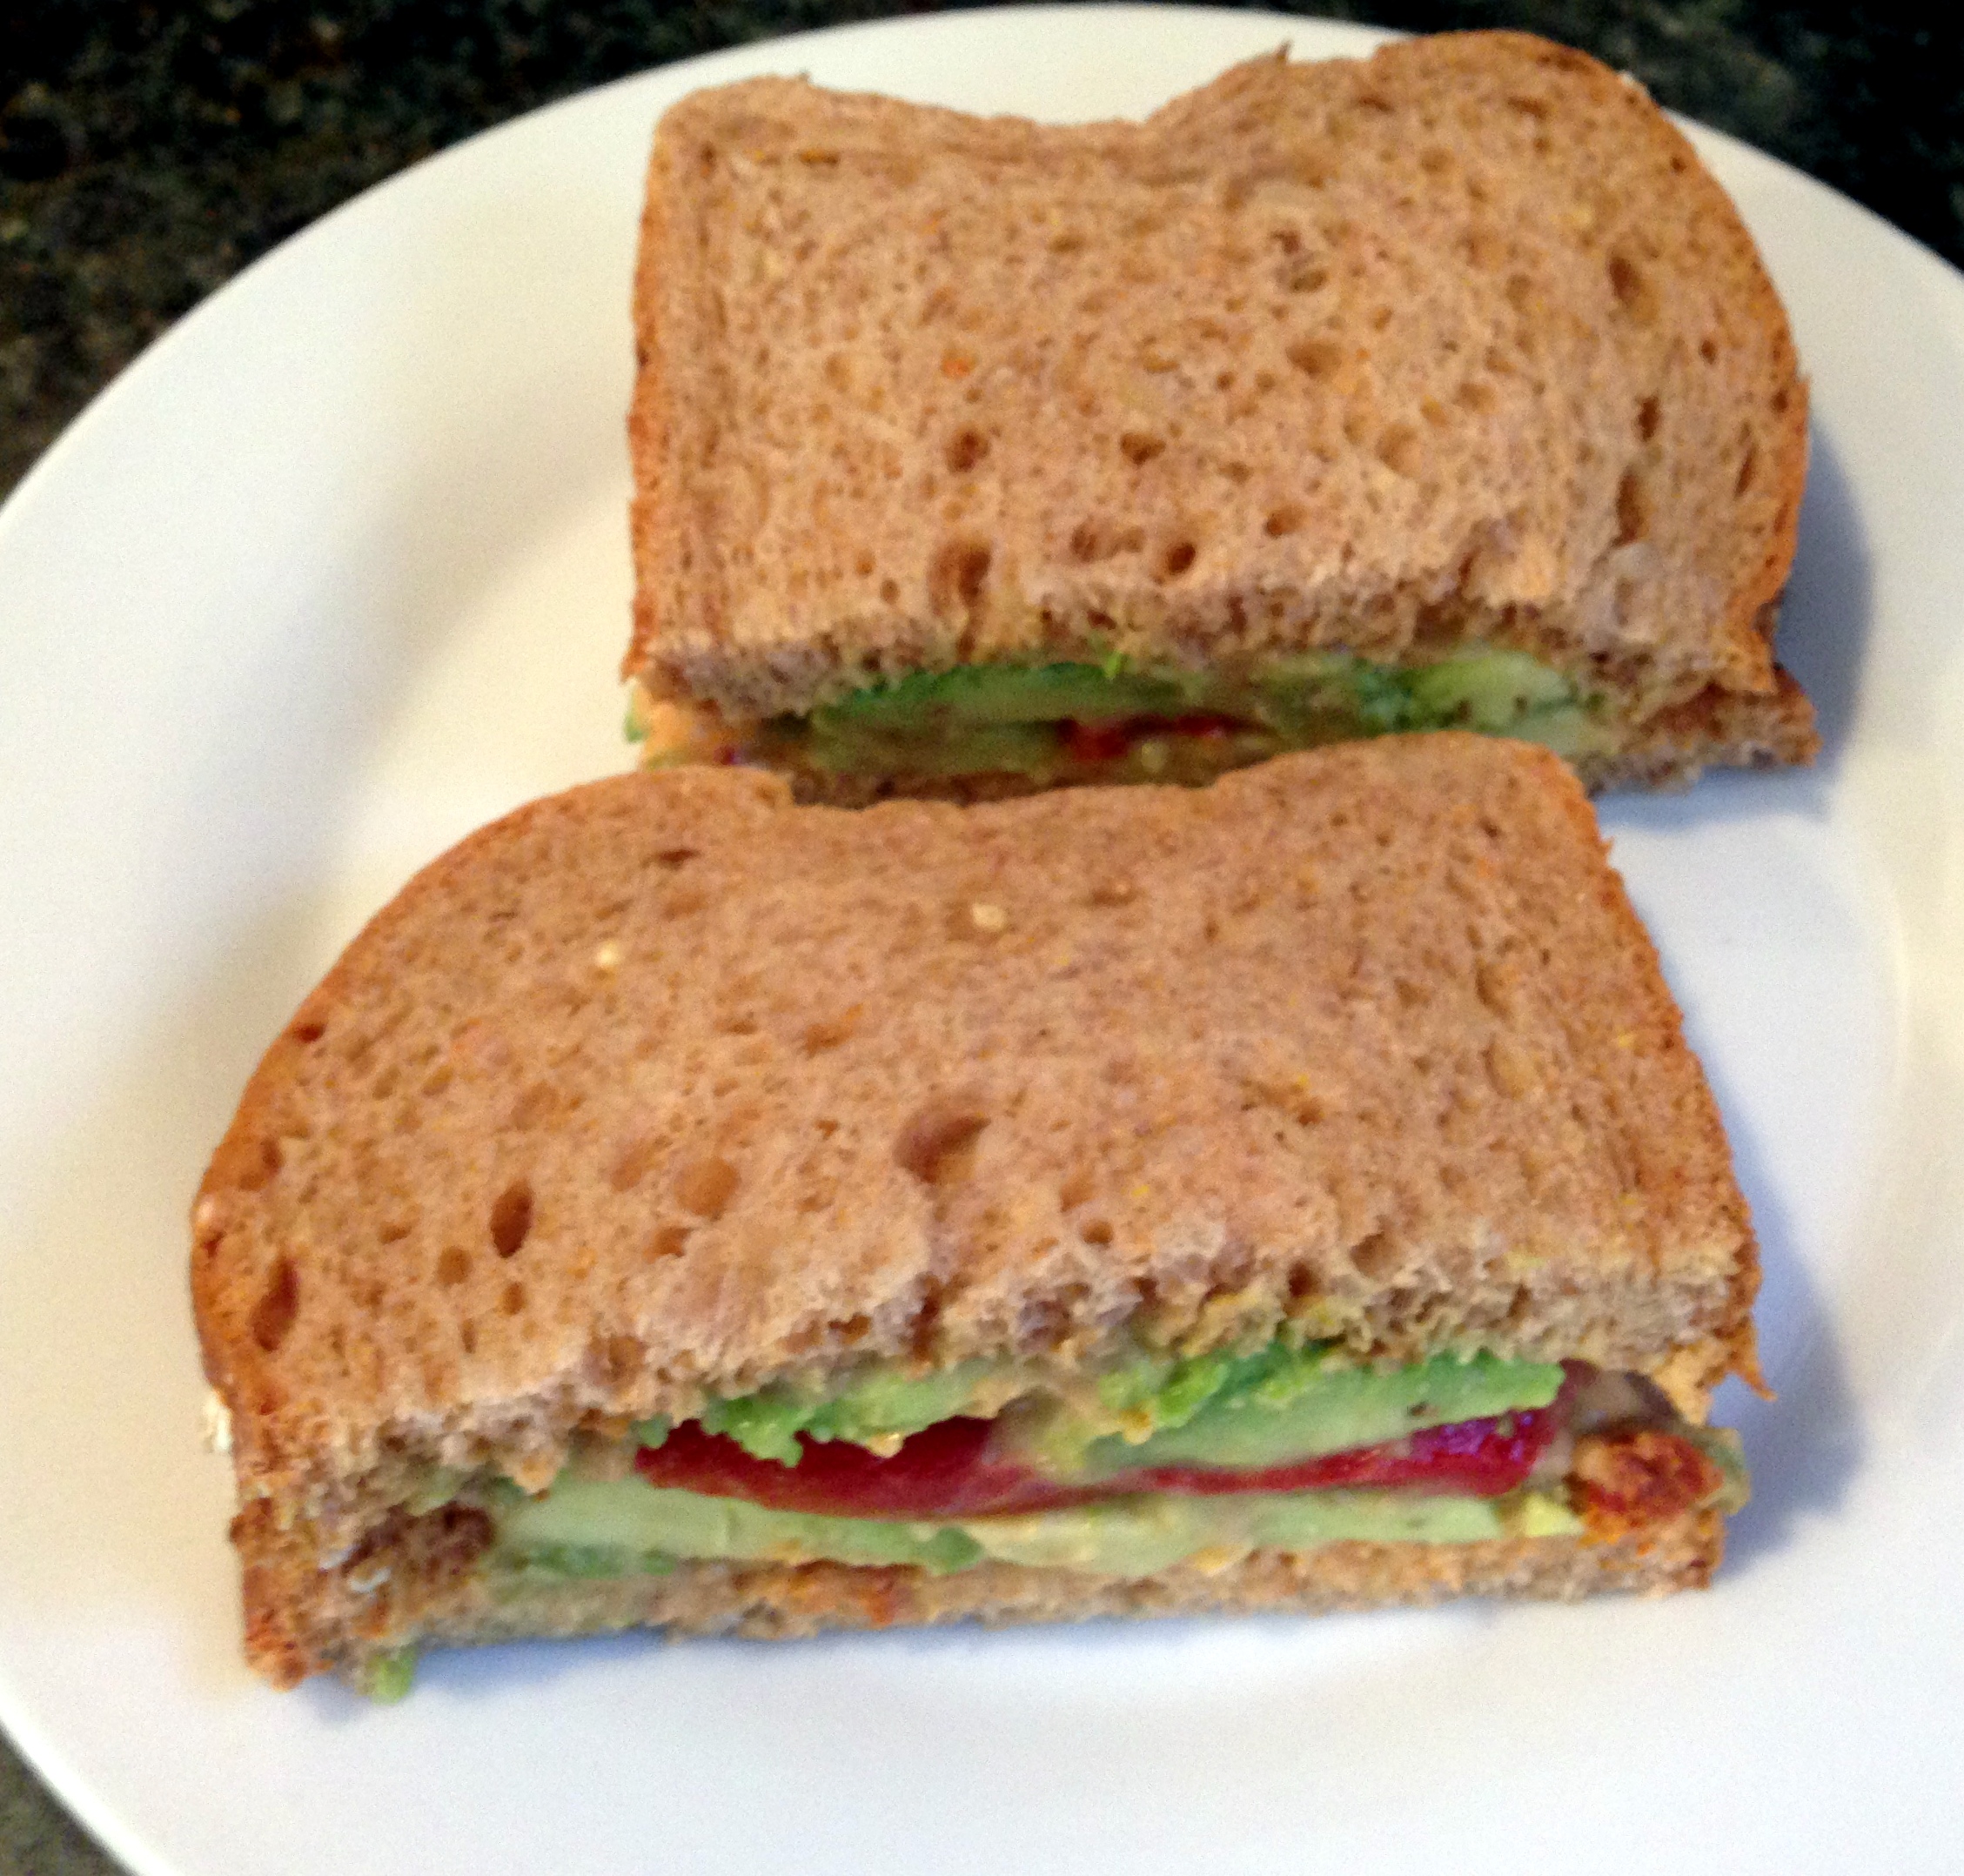
  • First, what will make a complete, satisfying meal? You’ll want a balance of protein, starch, fat, etc.  Let’s say you’ve decided to make pan fried tempeh and roasted Brussels sprouts. Will that satisfy you?  Maybe roast some potatoes too for a more satisfying meal.
  • Do the ingredients you have on-hand lend themselves to the cuisine you’re planning? For example, your black beans might be the perfect choice for your Mexican burrito, while cannellinis or chickpeas probably would be a better choice for your Italian wine and garlic sauce.pantry reset
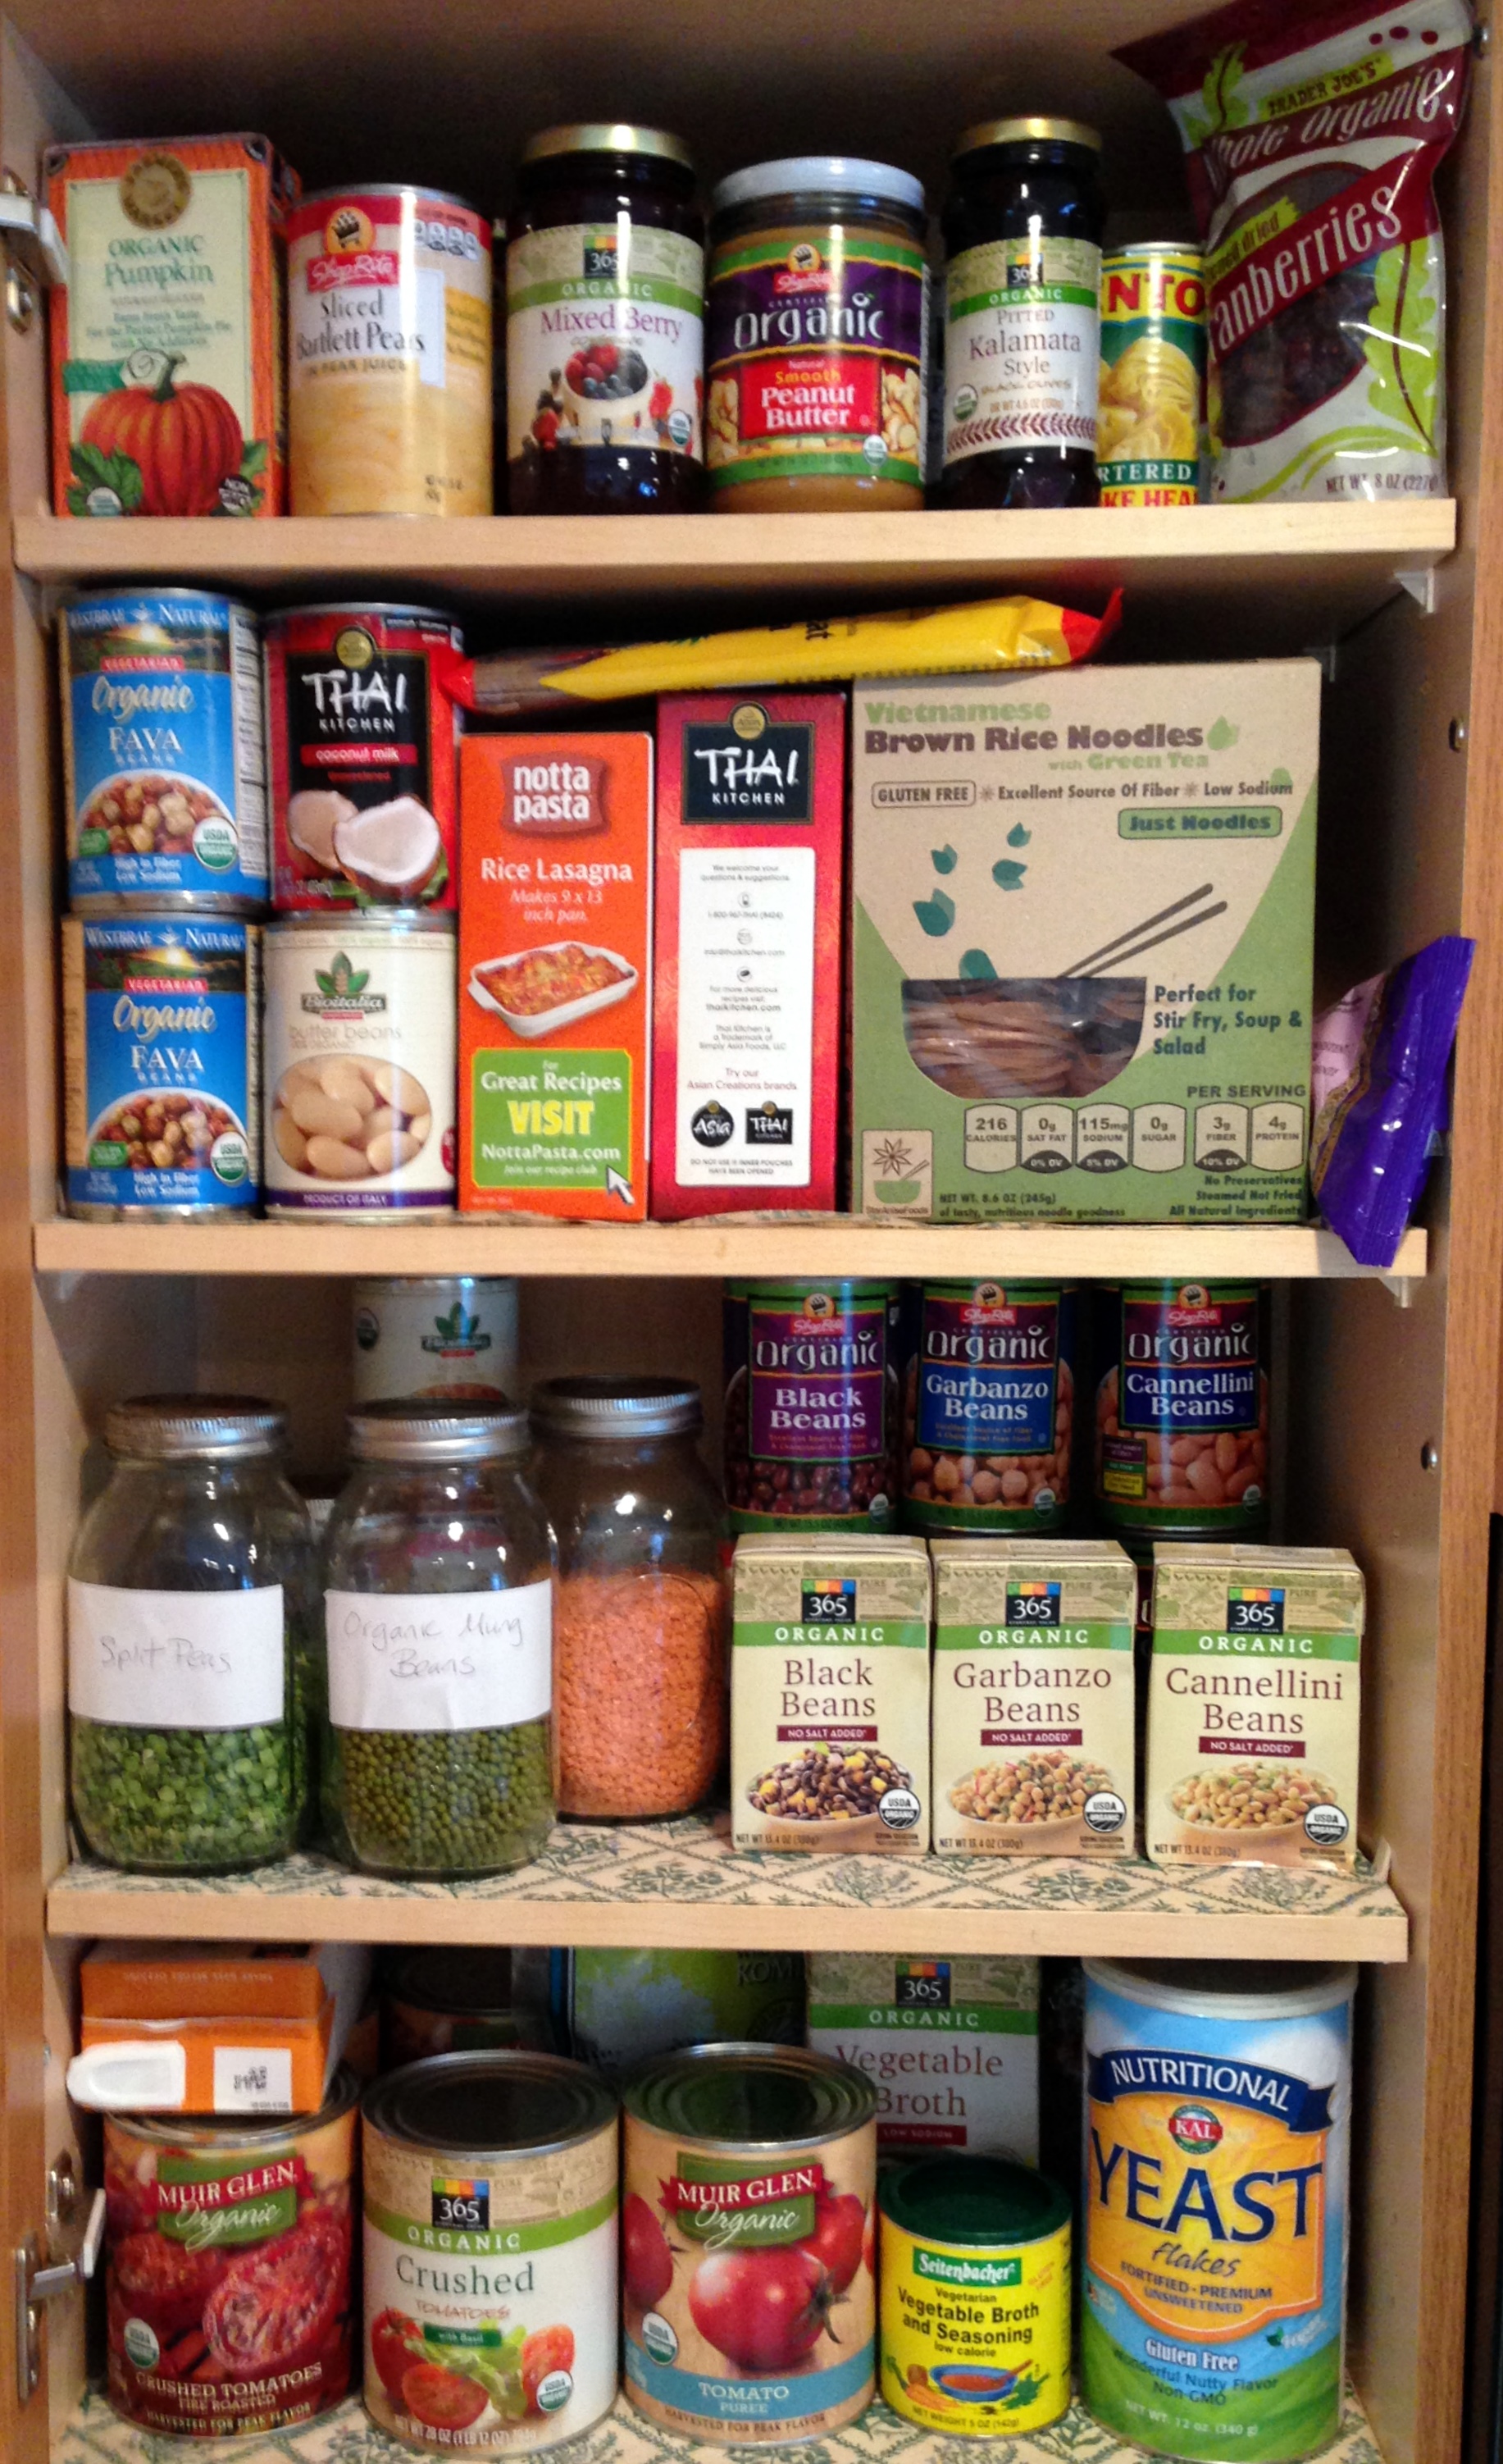
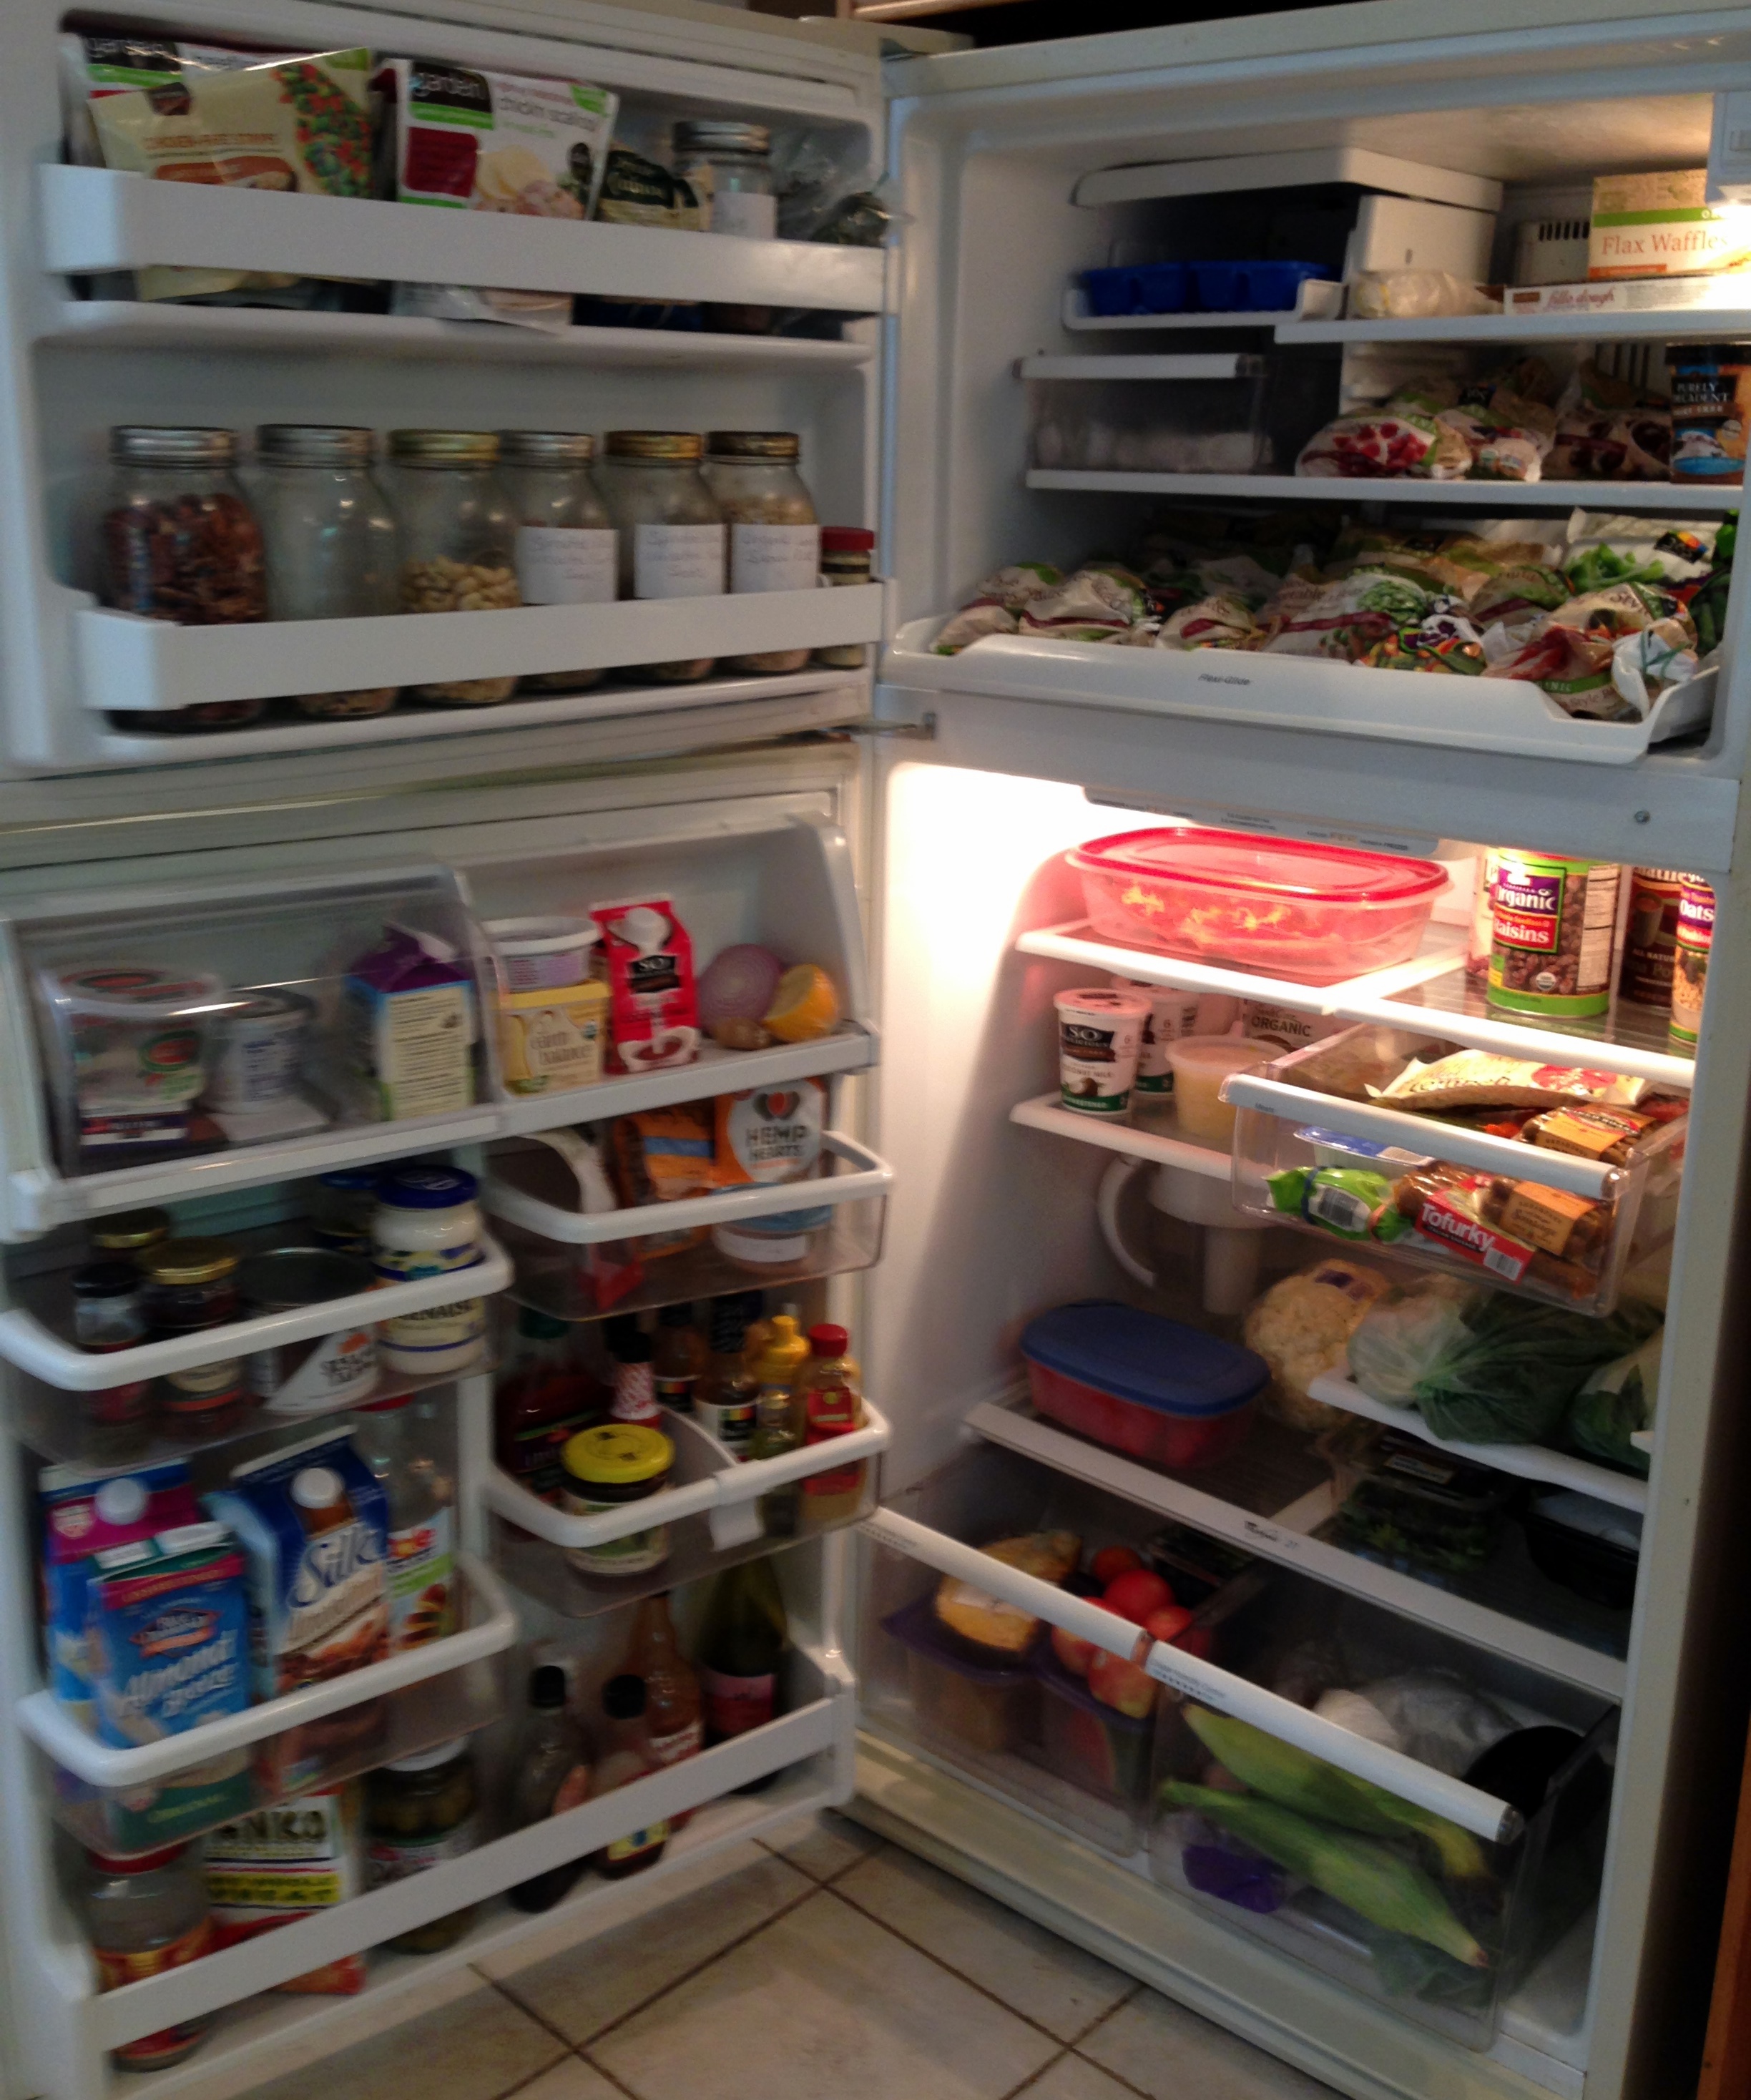
  1. With all the above in mind, keep your refrigerator and pantry well stocked so you have plenty of ingredients from which to choose. Check out my guide.  rouxbe fridge reset

How To Make Italian Tomato Sauce

Tomato sauce is delicious and easy to make. For consistently great results, here are a few tips.

First, use quality tomatoes.  You don’t need to use fresh heirloom tomatoes for a Pomipomi side3wonderful sauce, which for most of us living in variable climates isn’t even possible most of the time.  Canned or boxed tomatoes are fine. Just look for tomatoes with no added ingredients like citric acid, sodium, sugar, or other preservatives or artificial flavors.  The ingredients should be only tomatoes and their juice, though added herbs Sclafani Crushed Tomatoesare OK.  Tomatoes with no added ingredients have been picked ripe, and therefore are naturally sweet and generally the best tasting.  Most canned tomatoes are plum tomatoes, with the two most common types of plums being Roma and San Marzano.  Many chefs prefer San Marzano tomatoes (not to be confused with the brand). San Marzanos are associated with a particular region in Italy, but also are grown in the USA and elsewhere.  Some chefs additionally prefer these tomatoes la fede dopgrown in Italy under very specific rules, and look for the official D.O.P. label (Denominazione d’ Origine Protetta). Try out a few to test what you prefer. Personally I buy a variety of ripe tomatoes, not only San Marzano D.O.P.

Second, go low and slow – start with aromatics and then let sauce simmer a long time.  Take time to build an aromatic base of flavor by cooking your onion and garlic in a little olive oil over medium-low heat.  If you like a little extra sweetness in your sauce, add in a little carrot as well.  Then add in your tomatoes and optional flavorings and let the sauce cook uncovered for at least 45 minutes, and up to 2 hours, stirring occasionally. (I usually let it cook for about an hour.) Slow cooking will concentrate and thicken the sauce, giving it that delicious, authentic Italian taste.

Third, incorporate a few simple flavorings. After your sauce has cooked, turn off the heat and add in some torn, fresh basil.  You can make a delicious authentic Italian sauce with nothing more than your onion and garlic base, a little salt and pepper to season, tomatoes, and torn fresh basil leaves added at the end of cooking. This simplicity is really good. Often I like to include a few other ingredients, such as oregano, thyme, bay leaf, a little hot pepper, dry red wine, and fresh parsley.

That’s it.

Here’s my recipe for basic HOMEMADE TOMATO SAUCE.

Ingredients

  • 1-2 tbsp or as needed – olive oil
  • 1 medium – onion, diced finely
  • to taste – sea salt and freshly ground black pepper
  • 4-5 cloves – garlic, minced
  • ¼ tsp or to taste – crushed red pepper (optional)
  • 1-2 tsp – dry Italian seasonings – mix of oregano, basil, thyme (optional)
  • ½ cup – dry red wine (optional)
  • 2 tbsp or as needed – tomato paste
  • 2  28-oz cans – tomatoes, no additives
  • 1-2 – Bay leaves (optional)
  • 5-10 leaves or to taste – fresh basil leaves, torn
  • 2 tbsp. or to taste – fresh Italian parsley, chopped (optional)

Directions

  1. Heat pan over medium-low heat. Add olive oil and let heat for a few seconds. Add onion and a pinch of salt. Cook until the onions are transparent, 5-10 minutes, stirring frequently. Add garlic – and if you like a little heat, also add in a little crushed red pepper — and cook another minute or two.
  2. Add in your bay leaf, freshly ground black pepper, dried herbs and wine, if using, and let cook a few minutes.
  3. Stir in tomato paste and cook for another few minutes. Then stir in tomatoes and add a good pinch of salt.Tomato sauce
  4. Bring sauce to boil, and then reduce heat to a low simmer, and cook uncovered for at least 45 minutes, and no more than 2 hours, stirring occasionally.
  5. Adjust seasonings to taste, and add in torn, fresh basil leaves, and if using, fresh parsley. Optionally drizzle in a little olive oil. Remove bay leaf and discard.

15 Quick and Easy No-Recipe Vegan Sandwich Ideas

If you’re in the habit of thinking of sandwiches as slices of meat – or fish, chicken, or egg salads – between two slices of bread, you may be at a loss for how to quickly throw together a vegan sandwich. Here are a few ideas. Vary the bread based on your preferences and what you have on hand – sliced, rolls/buns, pita, tortilla wraps, flat – or even just use Romaine lettuce leaves as your wrap.

1. Peanut Butter and Jelly Sandwich (or other nut butter, spreadable fruit, jam/preserves) – This old standby is vegan and kid-friendly.  Ideally choose a peanut butter with no added ingredients, and a fruit spread with limited sugar.  I usually buy Shoprite brand organic peanut butter, which contains only organic dry-roasted peanuts and sea salt.  For fruit spread, I vary brands, but look for ones that have about 6 grams of sugar per serving.  Many of them have way more than that, so always check labels.

2. Peanut butter and Banana Sandwich – Slice the banana thinly, or if it’s ripe enough, you can even mash and spread it. If you want to make it Elvis style, grill it. I like to use coconut oil, but any med-high heat oil or non-dairy butter works.

3. Hummus and Tabouli Sandwich – Just buy pre-made hummus and tabouli, and spread inside bread or wrap. There are many variations of hummus to choose from.hummus avocado pepper sandwich

4. Hummus, Roasted Red Pepper, and Avocado Sandwich – Actually hummus is a great starting point for many variations of sandwiches – and even mini-pizzas you can make quickly in the toaster oven. In the sandwich pictured, I used a hummus with sun-dried tomatoes.

5. Baba Ganoush, Tomato, Lettuce, and Avocado – Or use hummus instead of baba ganoush.falafel trader joes

6. Falafel Sandwich – you can buy pre-made falafel, like these from Trader Joes, and add whatever you like. Some typical options are hummus or tahini, tomato, and lettuce.Tofurky Field Roast

7. Veggie “Cold Cuts” Sandwiches – This “one” idea actually should give you many different sandwich ideas! There are lots of vegan deli slices options available, from substitutes for familiar deli meats like turkey, bologna, ham, to ones that offer something unique. For example Field Roast offers Lentil Sage, Wild Mushroom, and Smoked Tomato deli slices. Try your favorite combinations. I like adding sliced or mashed cranberry to turkey-style slices. Avocado and tomato is great in most sandwiches.  Add a little mustard, ketchup, and/or vegan mayo, and you’ve got a tasty deli-style sandwich.  When buying deli slices, be sure to check labels and buy the least processed.  Many brands use soy protein isolate, and while not horrible in moderation, it’s better to choose brands made of whole foods.  Tofurky and Field Roast are my usual choices. Tofurky is in most mainstream groceries. Field Roast is available at the Kings and Whole Foods near me and of course available online.  Don’t fret too much about ingredients if you can’t find the perfect option in your grocery store.  The processed veggie meats aren’t as bad for you as the processed animal-based deli meats you’re replacing.Tempeh bacon

8. V-Bacon Lettuce and Tomato (VLTs) – I usually use tempeh bacon, and sometimes seitan bacon.  Lightlife’s tempeh bacon is available in most mainstream groceries. Spread some vegan mayo on your bread, and if you like, also add some slices of ripe avocado.Wildwood baked tofu

9. Baked Tofu and Cranberry Sandwich – You can buy pre-made baked tofu and keep it on-hand to throw into salads as well as sandwiches.  If cranberry sauce isn’t your thing, add whatever fixings and condiments you like.

10. Southwestern Wrap – Spread some canned vegetarian refried beans on a tortilla – or you could use canned black or kidney beans. Season with a dash each of salt, pepper, cumin, and garlic powder. Add some salsa, black olives, green onions (or just onion powder), and lettuce, and roll up into a cold wrap. You could take this up a notch by rolling into a burrito and heating in the oven.

11. Mediterranean Wrap – Spread the following onto a tortilla and then roll up: some canned cannellini beans, jarred marinated artichokes, roasted red pepper, marinated mushrooms, sundried tomatoes, and fresh basil. If you don’t have, or like, all these ingredients, just use a sub-set. If you omit both the marinated items and basil, add a dash of Italian seasoning and balsamic vinegar for flavor.

12. Grilled Cheese and Tomato – Make like you would any grilled cheese and tomato, just use a vegan cheese.  There are many on the market. Most mainstream groceries carry Daiya.

13. Tofu Hotdog – These cook up in a matter of minutes. Add whatever you like, such as mustard, sauerkraut, and vegetarian baked beans.

14. Vegan burger/patty – There are plenty of options on the market. One of the healthier options is Dr Praeger’s California burgers. Try these with some unsweetened, organic, applesauce.

15. Veggie meatball subs – Use jarred marinara sauce and a hearty roll and heat up. Optionally sprinkle on some nutritional yeast, or melt on some vegan cheese.

Of course there are endless combinations.  And since I called this post “no recipe,” I didn’t include vegan versions of the traditional lunch sandwiches: Eggless Tofu Salad Sandwich, Tuna-style Chickpea Salad, but of course they would be easy lunch sandwiches as well.


How to Roast Vegetables – 7 Tips for Great Results

Roasting vegetables releases their natural sugars, concentrating and intensifying flavors. Their exteriors get nice and caramelized, while the insides remain moist. The result is quite delicious and a great way to enjoy eating more vegetables.  Roasting is so simple to do.  Here are a few tips to help you get great results.

  1. Initial prep – Wash vegetables, blot dry (if too wet, moisture will cause them to steam rather than roast), and CUT INTO SIMILAR SIZE PIECES, so that they will cook evenly.
  2. Coat LIGHTLY with oil.  You still can get a good result with no oil, but oil helps the vegetables brown more evenly, and I think creates a little more intense flavor.  However a little oil goes a long way, so just DRIZZLE, and toss to coat evenly. Not only is a lot of oil not good for you, it will make the vegetables greasy.  I generally use a neutral oil, such as organic Canola, that has a high enough smoke point for the high heat of roasting.  I use about 1.5 tablespoons of oil for a large tray, about 1.5 pounds, of vegetables.
  3. Season with salt and pepper.  I always use freshly ground black pepper, and prefer coarse sea salt (about a 1/2 teaspoon of salt for the tray of vegetables). Using just salt and pepper is enough to bring out amazing flavor, but you can try endless variations by optionally adding any spices and dry or hearty fresh herbs of choice. (Delicate fresh herbs like parsley and basil are best added after roasting because the high heat would destroy them.) Roasted vegetables before oven
  4. Use an appropriate pan.  The pan should have low sides to allow the heat to hit the vegetables directly.  A simple sheet pan is ideal.  Also, the pan needs to be large enough to spread out the vegetables in a single layer.   rouxbe brussels roasting
  5. Optimally lay out the vegetables.  Most important, DO NOT CROWD. You want them to roast in direct heat, not steam.  Lay vegetables in a single layer.  Use additional pans if necessary.  If your vegetables are cut such that they have a flat side, lay them flat side down.  It just helps get a nice, even browning. And if you have some larger pieces, place them at the perimeters of the pan, which tend to get the hottest.
  6.  Use high enough heat and move the vegetables.  Most vegetables roast well at 400-450 degrees Fahrenheit.  Preheat your oven to the desired heat and try to maintain the heat by keeping the oven door closed as much as possible.   For even cooking, about halfway through the roasting time,  you’ll want to TOSS the vegetables.  It’s also a good idea to rotate the pan, since the back of the oven is a little hotter.  Ovens loose heat quickly when you open the door, so keep door opening to a minimum, and close the door while you’re tossing the vegetables.  Generally speaking, it‘s best to place your pan in the center of the oven for even cooking.  However if you have multiple pans and need to use multiple racks, just alternate the pans at the halfway point.roasted vegetables out of oven
  7.  Length of time – There’s a lot of variation depending on the vegetable and personal preference.  Personally, I roast most vegetables for between 10-30 minutes.  Harder, denser vegetables such as root vegetables, I’ll roast longer, typically 30 – 50 minutes.  I roasted the Brussels sprouts in the photo for only 12 minutes at 400 degrees Fahrenheit. (Some people prefer to roast theirs much longer.)  I roasted the mixed vegetables pictured for about 25 minutes at 425 degrees Fahrenheit. cropped roube brussels finishedroasted vegetables plated

Guide For Stocking Your Vegan Kitchen

Here’s a table I put together to give you ideas about how to stock your kitchen so you’ll be ready to prepare many vegan meals. I hope you find it useful.

Grains and Starchy Vegetables Rice, potatoes, yams, pasta, quinoa, noodles, cereal, and your other favorites.  Choose whole grains as often as possible.High protein “grain meats” such as seitan and convenience foods based on seitan also are useful to have on hand.
Legumes  Lentils, beans, peas, tempeh, tofu, and prepared veggie meats can form the center of numerous meals. Keep cans of chickpeas, black beans, kidney beans, cannellinis and other favorites on hand. You may also like to keeps some dry and frozen on hand.
Vegetables  Keep a wide variety of both fresh and frozen on hand. Include leafy greens such as kale, romaine, and chard, as well as lots of different color vegetables. Frozen are especially convenient when you want to prepare a super quick & easy stir fry.
Fruits  Keep a wide variety of both fresh and frozen on hand.  Canned fruits, especially pineapples, pears, orange slices, also come in handy for cooking and salads. Be sure to buy those packed only in juice. You may also like to use spreadable fruits and dry fruits.Canned tomato products – diced, crushed, puree, paste – are essential. And canned coconut milk is another great pantry staple.
Nuts, Seeds  Cashews, walnuts, brazil nuts, flax seeds, pumpkin seeds, and any others you like.Nut butters, including peanut (which technically is a legume).
Fats and Condiments Olive oil, canola oil, eggless mayonnaise, Dijon and other mustards, and any other favorites.
Herbs & Spices Some basic herbs & spices to keep on hand include: basil, oregano, rosemary, thyme, cayenne pepper ground, cumin ground, curry powders, fennel seeds, red pepper flakes, black pepper corns, ground ginger, and garlic powder.Ground powders are good to keep on hand, but nothing beats fresh ginger, garlic, basil, and parsley.
Wines, Vinegars, Marinades Cooking with wines – red, white, marsala, rice wine/mirin – can make food taste gourmet. You don’t need to buy expensive wines.Balsamic, apple cider, and red wine vinegar are a few staple vinegars. (A few drops of balsamic go a long way in flavoring food.)Tamari soy sauce (or Braggs Liquid Aminos), vegan Worcestershire sauce (i.e. no anchovies), liquid smoke, and a few pre-made marinades – peanut sauce, soy ginger, BBQ – are useful to keep on handsVegetable broth and/or bouillon cubes are great for soups and many other recipes.
Sweeteners Unrefined sugar (sucanat), pure maple syrup, brown rice syrup, black strap molasses, molasses, and stevia. Of course fruits also make excellent sweeteners, especially dates.
Plant-based Milks Instead of cow’s milk, use plant-based milks (and creams), such as: soy, almond, hemp, rice, oat, and coconut. Find one or more that you like.
Other Nutritional Yeast is a fantastic ingredient to keep on hand. (Do NOT confuse it with bitter tasting Brewer’s yeast.) Sprinkle nutritional yeast on pasta and popcorn in place of parmesan cheese. It’s also wonderful to cook with as well, as you’ll see it in many recipes. It’s often a key ingredient in vegan cheeses and cheese sauces.


Quick Tips: Fresh versus Dry Herbs

Herbs (and spices) are crucial to creating flavorful dishes.

  • Herbs are the aromatic leaves of a plant. Examples include oregano, thyme, dill, rosemary, sage, and basil.
  • Spices are anything other than the leaves, such as the roots (e.g. ginger), seeds (e.g. cumin), fruit (e.g. chili), or bark (e.g. cinnamon).

Substituting fresh and dry herbs

Generally speaking, you can use either dried or fresh herbs in your recipes. You do need to adjust the measurements if you’re substituting for what’s specified in the recipe since dried herbs are more concentrated. The basic guideline is to use a ratio of 3-1 when substituting fresh for dried.  For example, if a recipe calls for 1 teaspoon of dried rosemary, you would use 1 tablespoon (which is equivalent to 3 teaspoons) of fresh rosemary.

A couple of exceptions for which I wouldn’t recommend interchanging fresh and dry:

  • Basil – its taste and strength are very different in fresh and dried forms.  Generally speaking, fresh basil is preferable and more flavorful.
  • Oregano – While many chefs say that in general fresh herbs are preferable to dried herbs, oregano is often preferred dry because the flavor develops in the drying process.

Difference in flavor developing times

Add fresh herbs towards the middle or end of cooking time to keep their flavors full. Too much cooking time breaks them down. Hearty herbs, e.g. thyme, sage, rosemary, can take more heat and for longer. Very delicate herbs, e.g. parsley, basil, cilantro, are best added at the very end of cooking, after you remove the dish from the heat source.

On the other hand, dried herbs should be added to the recipe towards the beginning of cooking time because it takes 25-30 minutes to develop their flavor.  Other tips for using dried herbs:

  • Rub the herbs between your fingers to help bring the oils to the surface before adding them to your recipe.
  • If you’re making a marinade or dressing, using an acidic ingredient such as vinegar, citrus juice, or wine, allow the dried herbs to steep in the acidic ingredient several minutes before adding the oil, so the herbs have time to infuse and develop the flavor.

Storing herbs

Fresh – The best way to store fresh herbs varies.  Properly stored fresh herbs will last up to a week, possibly longer. Although the fresher used, the better.

  • Any herb with stems or roots in tact should be stored stem down in a glass with 1-2 inches of water.  Loosely tent the herbs with a plastic bag to retain the moisture. You can keep these on your kitchen counter.
  • Herbs without intact stems and roots are best wrapped lightly in a damp paper towel and put in a plastic bag. Store them in the door or crisper section of your refrigerator.

Dry – It’s important to store dried herbs in a cool dark place, away from any heat source.  This is because the flavor in herbs is in the oils.

So…

You’ll probably want to use both fresh and dry herbs. Keeping a store of dried herbs in your kitchen is convenient and really essential for any cook. You’re also going to find you often want fresh herbs, which you’ll buy as needed and/or grow your own.

7 Tips for Working With Tofu (Go From Bland and Mushy to Delectable)

Tofu is like a blank canvas. Untouched it’s bland. Yet tofu can absorb flavors and take on a range of textures, making it a very versatile food that can be both delicious and satisfying.  Here are some general tips to help you achieve good taste and texture.

These tips are mainly for preparing “regular” tofu to ready it for common cooking methods such as baking, broiling, grilling, pan and stir frying.  So first you need to understand a little about the types of tofu.

TIP 1 then is to choose the right type of tofu for your dish.  Buying tofu can be a little confusing. There are 2 general categories of tofu: REGULAR and SILKEN. Within each of these categories are gradations of soft, medium, and firm.

Use REGULAR if you want the tofu to retain some shape. Regular tofu is found in the refrigerated section of the grocery store.

Regular Tofu

Regular Tofu

The firms – firm, extra firm, and super firm – are what you’ll likely use most often for baking, broiling, grilling, pan and stir frying. When cubing or using small pieces, and for grilling, use extra or super firm. Personally I tend to use these firmest varieties most often.  I’ll use a plain firm, or even medium, for crumbling (e.g. ricotta, scrambles, salads), though extra firm here as well.

There’s also “soft” regular tofu. Personally I rarely buy regular soft tofu, except occasionally for use in Asian-style soups. The line between soft and silken tofu is blurry and in a pinch you can use soft in place of silken as described below.

Silken Tofu

Silken Tofu

Use SILKEN for blending up into sauces, dips, and desserts (e.g. pie fillings, mousse, puddings). Silken tofu also can be used to replace eggs in many recipes.   Sometimes silken is found packed in water in the refrigerated section along with the regular tofu, but often it’s in vacuum packed, aseptic boxes on the shelves with the Asian food. Non-refrigerated silken tofu tends to be the creamiest, but it’s not as commonly found in mainstream groceries, so you may need to go to an Asian market or “natural foods” store.  There’s not that much difference between soft and firm varieties of silken tofu, so unless your recipe specifies, don’t worry about which firmness you buy. Again, do not be confused – all silken tofu is “soft.” If you need an “extra firm tofu” to make something solid, do NOT buy “Silken Extra Firm;” It will fall apart.

OK then, the remaining tips are only for regular (i.e. not silken) tofu.

TIP 2 – Always drain and press your tofu before cooking with it. Reducing the water content leaves the tofu open to absorb flavors as well as improves the texture. Drain and press is the minimum you’ll want to do. Simply drain out the water the tofu comes packed in, then wrap it in a clean dish towel or paper towel, and place it between two plates. Put a weighted object (such as a can or pan) on the top plate and let sit for about 15 minutes.  Then pour off the released water and pat the tofu dry with a towel.

TIP 3 – Dry fry before marinating and the tofu will really absorb the flavor! Dry-frying in a non-stick or well seasoned cast iron skillet without any oil will remove the water from the tofu really well. (Without the oil, the tofu will stick to the pan, which is why you need to use non-stick or seasoned cast iron.)  To dry-fry, use a medium-low heat and let the tofu sit a couple minutes on each side until the water sizzles out and each side is slightly golden. Pressing the tofu down with a spatula helps.

TIP 4 – Freezing then thawing tofu changes the texture making the tofu very dense and chewy. This method also is great for extracting the water content, enabling the tofu to soak up seasonings and marinades. (Many people love this technique so much, they won’t prepare tofu any other way.)  Just put your package of tofu in the freezer for at least overnight. (You could leave it in there for months.)  The day you want to use it, take it out and allow at least 3-4 hours for it to thaw completely. Then drain and press and watch the water gush out. You also could just squeeze the tofu by hand over the sink.

TIP 5 – Quick broil after baking. If you want to give your baked tofu a chewier texture, just broil for a few (about 3) minutes at the end of your baking time.

TIP 6 – This one is very basic, yet important. Cut tofu into appropriate sized pieces. Whatever size and shape you choose (rectangular slices, triangular slices, strips, cubes or anything else you come up with), keep in mind:

  • As in cooking anything, you want to cut the tofu into uniform size pieces for even cooking.
  • You also want to consider what you’re cooking it with. E.g. cubes or strips work great for stir fries. Just make sure their size works with the other food.
  • If you’re going to put tofu on the grill, make sure the pieces are at least ½ inch thick.  Typically when I’m baking or pan frying, I’ll cut a standard tofu block into eight slices.  For the grill, I’ll cut into only six slices.

TIP 7 – well this is perhaps multiple tips, but there are several basic cooking techniques that especially apply to tofu. When marinating, longer is better. Try to give tofu at least an hour in marinade.  Regardless whether you’re baking, broiling, grilling, or pan frying:  1) don’t crowd your pans when you cook; 2) don’t move the food around constantly; allow time for each side to sear/cook; and use high enough/appropriate heat. In most cases, you’ll want your tofu to get golden and perhaps a little crispy on the outside.

Vegan Baking: Replacing Dairy and Eggs

Traditional baking relies heavily on eggs and dairy, so people often assume it’s difficult or impossible to bake without them.  The truth is that it’s quite easy.  It’s not eggs or dairy-based butter, milk, and cream that are required. It’s the functions they serve such as binding, moisture, creaminess, and to some extent, leavening, and all of these can be easily accomplished with plant-based foods.

A bonus – when you make a batter without raw eggs, you can lick the bowl with abandon and no worries about salmonella! But to clarify – just because vegan baked goods use all plant-based ingredients does not automatically make them health foods.   Baked goods often are intended as treats, not dietary staples. It’s true that the vegan baked goods might rate a little better on the healthy food continuum than baked goods using eggs and dairy simply because the vegan versions don’t contain cholesterol or much saturated fat.  You could make delicious muffins, cookies, pies, cakes, breads etc. that are in fact health foods, but you’ll probably also want to make very traditional tasting desserts and treats that use sugar and regular flours.

BAKING WITHOUT DAIRY

This one is simple. There are plenty of non-dairy milks, creams, and buttery spreads on the market that you can use one-for-one exactly as you would the dairy versions.

  • Milks – I tend to use plain, unsweetened soy or almond milk. Oat milk is another excellent choice. I find coconut milk imparts a small amount of flavor, so unless I want that, I just use neutral milk.  Many people use rice milk and it works OK, but I find it a little “thin” for baking probably because it has less protein and fat.  Plant-based milks are readily available in mainstream groceries and you also can make your own at home very easily. (See my post https://www.veganculinaryclasses.com/homemade-almond-milk/)
  • Creams – The above comments about milks also apply to creams. You can purchase commercial brands of plant-based cream and use it one-for-one in place of dairy.  To make nut-based cream yourself, use less water than you would for milks – about one part water to one part nuts for cream.
  • Buttery spreads/margarines – Read the labels to make sure the product is vegan and made of good quality ingredients rather than a long list of chemicals. You often can even substitute neutral oils – such as canola, grape seed, and vegetable oils – for butter. Use a little less oil than the amount specified for butter. (Use about 75% of the specified amount.)
  • Buttermilk – You can make buttermilk by simply adding a souring agent such as vinegar or lemon juice to your plant-based milk and letting it stand for about 10 minutes.  Add a tablespoon of vinegar (or lemon juice) for every cup of milk.

BAKING WITHOUT EGGS

There are many options for baking without eggs that work wonderfully, and many are quite nutritious. Unlike replacing dairy, however, there’s not always a one-for-one plant food swap for eggs, so if you’re trying to “veganize” a favorite recipe that uses eggs, it may or may not work. Generally speaking, if you have a recipe that calls for 1, maybe 2 eggs, you should be able to veganize that recipe.  However, if the recipe calls for numerous eggs, you’re much better off finding an alternate recipe that is vegan for whatever you’re trying to make.

Below is a list of some of my favorite ways of replacing eggs. This list is not exhaustive, but should give you plenty of options.

Commercial Egg Replacers – (Follow package directions for 1 egg equivalency)   There are two excellent potato starch-based egg replacers available at groceries.  These egg replacers are multi-purpose, convenient, very economical, and have a long shelf life so are great to have in your kitchen. They do not, however, offer any nutritional benefits. The two brands I know are vegan:

  • Ener-G – 1 ½ teaspoons combined well with 2 tablespoons of water = 1 egg
  • Bob’s Red Mill – 1 tablespoon combined well with 3 tablespoons of water = 1 egg

“Flax Eggs” – 1 tablespoon of ground flaxseeds + 3 tablespoons of water = 1 egg  (Whisk ground flax and water together well until thick and creamy. This can be done easily in a blender or food processor.)  Flax eggs provide binding and a source of omega-3 fatty acids. Choose golden flax seeds over brown if you don’t want the color to show, though either type flax seed works well. Flaxseed has a slightly nutty flavor and works well in breads, bran muffins, oatmeal cookies, pancakes and waffles.

Silken Tofu – ¼ cup of silken tofu whipped in a blender = 1 egg  Silken tofu provides wonderful creaminess, is quite nutritious and high in protein and fiber.  Purchase organic, non-GMO tofu. If you can find it, the vacuum packed is slightly creamier than the silken tofu in the refrigerated section of most groceries, but either will work well.  Silken tofu works well in place of eggs for dense, rich, moist cakes, pies, brownies, and muffins, as well as for puddings and mousse.

Unsweetened Applesauce – ¼ cup of applesauce = 1 egg   Applesauce acts as a binding agent and provides moisture.  It’s also low in calories and fat, and adds fiber and vitamins, so is a healthful choice. I really love using applesauce in baked goods.  Buy organic if you can because apples are one of the more heavily sprayed fruits. Applesauce works well in brownies, muffins, cakes, and quick breads.

Canned Pumpkin Puree – 1/3 cup pumpkin puree = 1 egg   Pumpkin puree, like applesauce, is a nutritious choice that provides binding and moisture. It works well in quick breads, cakes, and muffins where the pumpkin flavor is desirable.

Mashed Ripe Banana – approximately ¼ cup mashed ripe banana = 1 egg  Banana provides binding and moisture, as well as added nutrition, such as potassium, magnesium, and fiber. Obviously banana will add some flavor, so use when appropriate. Works well in muffins, cakes, breads, and pancakes.

Vinegar and Baking Soda – Eggs are sometimes used to provide additional leavening. Baking soda combined with distilled vinegar works well in place of eggs for cakes, cupcakes, and breads.

Your Mashed Potatoes

OK, making mashed potatoes is pretty simple and forgiving, and you’re likely to get an edible end product even if you’re haphazard. Basically you boil some potatoes, mash ‘em up with some fat and liquid, and add seasoning/flavoring – done. 

However if you want to consistently get good results, here’s some information to help you make conscious choices.  With mashed potatoes, many of the choices involved come down to personal preference. 

1. “Boil some potatoes.” 

What type of potatoes?  You can use pretty much any type of potato. Many people prefer high starch potatoes, like russets. They’re easy to mash smooth with no lumps, and perhaps make the fluffiest mashed potatoes. They do tend to be a little blander than if you use all-purpose or waxy potatoes. Yukon Gold and Redskin potatoes are two of my personal favorites for mashing.  Yukons have a natural buttery flavor and both of these potatoes produce a creamy flavorful result.

Do I peel them?  You’ll probably want to peel thick-skinned potatoes like russets.  Thin-skinned potatoes work well either way. Leaving the skins on is less work, provides some extra nutrition, and creates a rustic look. Just be sure to scrub the potatoes well. Really the decision to peel or not comes down to personal preference.  (By the way, you can peel before or after you boil.)

How / do I cut them before I boil them?  If you cut them before boiling, do not cut any smaller than about square inch pieces. Simply halving or quartering the potatoes typically works well.  It’s important to make the pieces fairly uniform in size for even cooking. The advantage to cutting before you boil is that it will take less time for the potatoes to cook. The advantage of boiling potatoes whole is there’s less chance they’ll absorb too much water, which would make them heavier and less fluffy.  

What about the pot and water for boiling?  You want to put the potatoes into an adequately large, deep pot, cover them with cold water, and add salt.  Then bring the water to a boil.  Unlike cooking most foods, where you want to add the foods to an already heated pot/pan/oven, with boiling potatoes you want them to heat gradually along with the water.  They will cook more uniformly this way and produce a slightly better texture.

How long do I boil them for?  Basically you want the potatoes to be tender – to the point where you can put a fork in without resistance.  Typical cooking time is 15 to 30 minutes, depending on size and type of potato. You want to keep the water at a low boil the whole cooking time. When the potatoes are tender, drain them and let sit for a few minutes to dry and cool a little bit.

2. “mash ‘em up with some fat and liquid.”

What do I mash them with?  With your drained potatoes back in the pot, mash them up with a potato masher and/or fork. If you don’t want any lumps, using a ricer would be a big help.  If you don’t have one, you’ll have to work a little harder.  Do NOT use a food processor or electric mixer or you’ll end up with gummy potatoes. Add the fat and liquid as you mash, adjusting the quantity as needed to achieve your desired texture.

What fat do I add?  You can use a vegan margarine or just olive oil. The quantity obviously depends on the amount of potatoes and your personal taste. (For 2 pounds of potatoes, you might use 3-4 tablespoons of fat.)

What liquid do I add?  Any plant-based milk will work fine.  I like to use almond or soy.  Other options are plant-based creams, vegetable stock, or even water reserved from the boiling.  It’s a good idea to warm the liquid before adding, or at least not have it cold. For 2 pounds of potatoes, you’ll probably need about a cup of liquid, but add a little at a time and adjust the quantity as needed.

3. “add seasoning/flavoring”

You could flavor your mashed potatoes a million ways. Here are just a few common go-to choices.

  • Simply season with salt and pepper.
  • Paprika always looks lovely sprinkled on mashed potatoes.
  • Rosemary provides wonderful flavor.
  • Garlic – well of course! (I love garlic.) Add minced garlic, roasted garlic, or you could actually cook garlic cloves with the potatoes. You also could add minced garlic – and/or other aromatics such as shallots and onions to your heated oil or margarine before pouring into the potatoes while mashing.  If you’re feeling lazy, you could just sprinkle on some garlic powder and/or granulated onion (though it won’t be quite as flavorful as using fresh).

Serve & Enjoy.

Tips for Making Vegan Burgers

Here’s a review of tips for making vegan burgers that we discussed during last night’s Vegan Burgers and Sides class.

Generally speaking, vegan burgers are best when “being themselves.”  That is, don’t try to make them taste like a beef burger.  (You can always pick up store bought vegan burgers for traditional hamburger style burgers. My personal favorite at the moment is Gardein’s Ultimate Beefless Burger.)

You can make infinite variations of burgers, combining a few or numerous ingredients. There’s no rule that you have to include a specific category of food. You can make a burger without any beans, or without vegetables, or grain, etc. Experiment with ingredients you have in your kitchen.  Here are some guidelines to keep in mind:

 Binders  – You’ll need a binder to hold the burgers together.  Some common options are: “flax eggs” (ground flaxseeds mixed with water, at about a 1:3 ratio), commercial egg replacer, oats, potatoes, wheat germ, and bread crumbs.

Texture / Moisture ContentA common problem with vegan burgers is mushiness and/or crumbling. To avoid this problem, make sure to remove extra water from your ingredients as you prepare. 

  • Drain your beans and blot them with a towel. The same goes for cooked vegetables and grains. 
  • Mushrooms are wonderful to include for adding meatiness. Just be sure to cook with some salt to draw out the moisture. 
  • If you still find your patties are too moist, just add some additional binder, and/or bake them in the oven rather than pan frying or grilling.

Flavor – There are so many ways to flavor using different herbs, spices, condiments, and of course choice of ingredients.  A few things you may consider.

  • Use some aromatic vegetables as a base. Sauté onion and garlic in a little oil, and season with salt and pepper. The salt draws out the liquid and sugar, helping to caramelize the onion.  As a general practice, add the onion before the garlic, as garlic cooks quickly and could burn.
  • “Soup stock” vegetables like carrots, celery, onions, potatoes can be a nice base with color, taste, and texture.
  • If you’re using beans or legumes primarily for nutrition or texture, and want to highlight another flavor, choose something with a mild flavor, such as lentils, chickpeas, or white beans, which will absorb the accent flavors rather than compete with them.  For example, if you want to highlight basil or lemon, one of these mild beans/legumes would work much better than black beans, which have a strong, distinctive flavor.  (Black beans of course pair very well with “southwestern flavors,” such as cumin and chili.)
  • If you’re using nuts, lightly toasting them first adds depth of flavor.
  • Liquid smoke is great for creating that outdoor grill taste.
  • Try some of these to impart strong flavor: hot sauce, barbeque sauce, mustards, ketchup, and nut butters. 

Preparation – Making vegan burgers is very quick if you have a food processor, but they’re not required.

  • Pulse or chop your ingredients small, but don’t puree. You want some texture.
  • Make your burgers all approximately the same size for uniform cooking.  An easy way to do this is to divide the batter first in half, then in half again, etc. 
  • You can roll into balls and flatten by hand for a very decent looking, rustic burger. (This is what I do.) Or, to be fancier, you can use a cookie cutter and form smooth-edged burgers that look store bought.

Cooking tips – You can pan fry, bake, or grill.  Don’t be concerned about using some oil. Vegan burgers are so much lower in fat than beef burgers, and you need some fat to prevent sticking, to create texture and flavor. 

  • Pan frying is quick and easy.  Just heat a few tablespoons of oil in a skillet, and depending on the burger, it’ll take 3-5 minutes per side.
  • Baking takes a little more time – typically 12-15 minutes per side – but it’s inactive time.  It’s a good idea to spray or rub a little oil on both sides of the burgers before putting them the oven to help them get a nice golden, crispy exterior. Typical oven temperature for burgers is 350 or 375 degrees. Baking is an especially good for delicate burgers that may not withstand a lot of handling.
  • Grilling requires you start with a firm burger and add oil generously.  Also clean and oil your grill grates. You need the fat to prevent sticking, as well as to develop the flavor and texture.